Legends tell of photographers in the Before Times — brave souls risking expensive film, metering by eye. How is that even possible? One can only assume it takes years of practice and a nearly superhuman eye for light.
But not so! Sunny 16 feels like a superpower, but it’s actually pretty easy to learn and use.
The Basic Principle
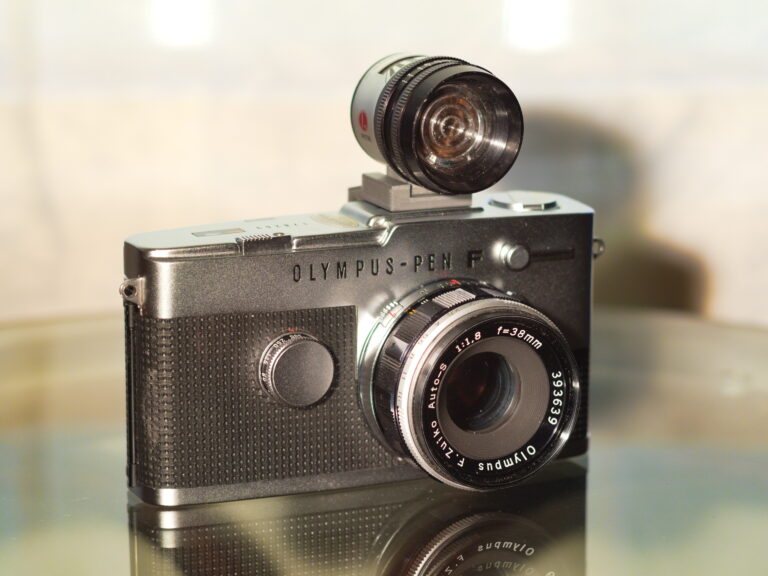
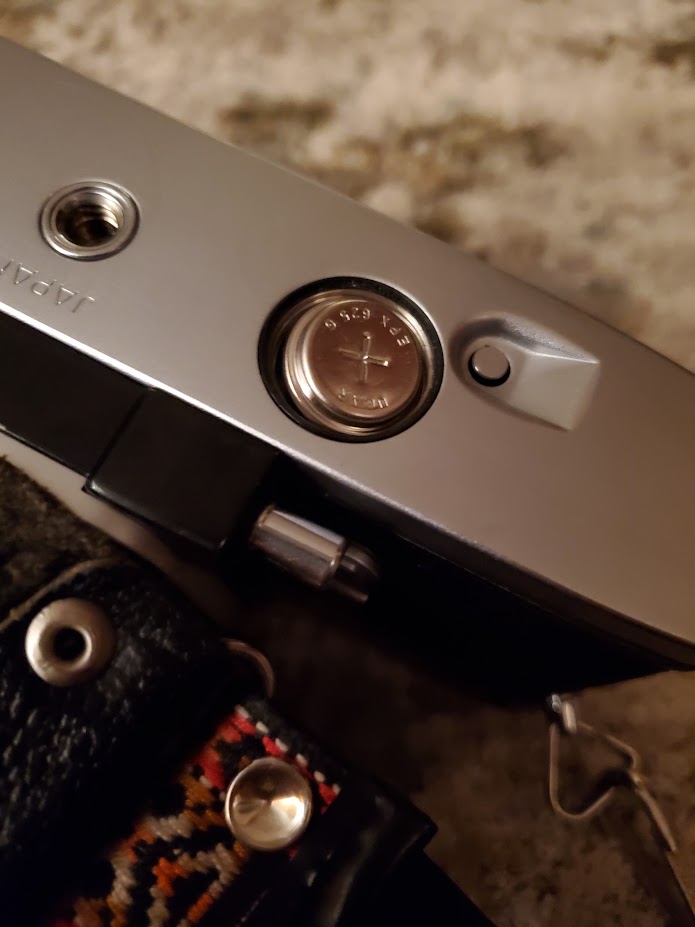
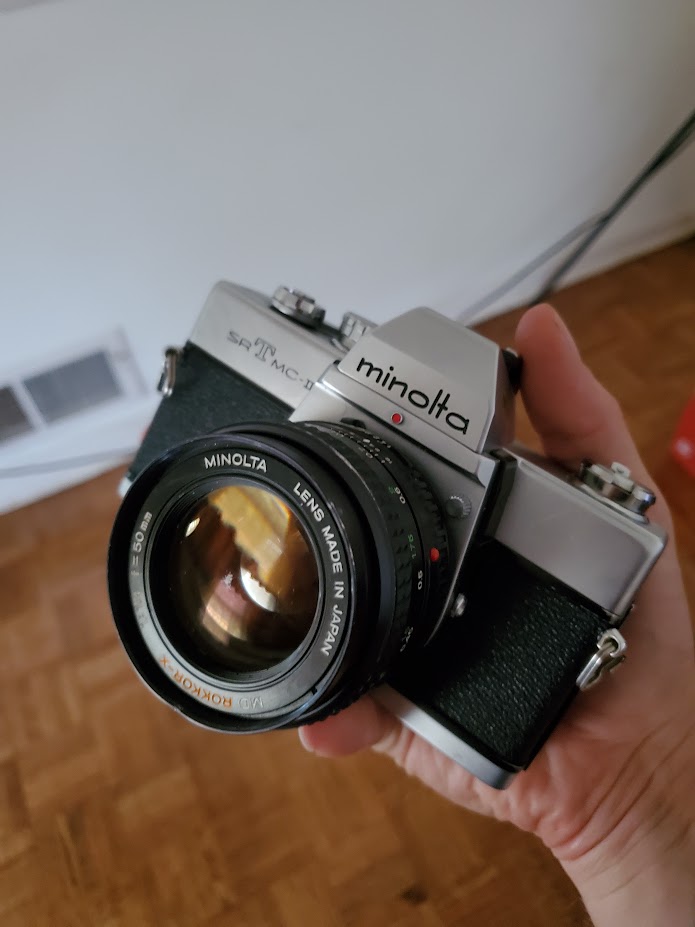
Sunny 16 may be photography’s greatest rule of thumb. It’s also particularly useful for analog photographers, since film cameras frequently suffer from non-functional light meters, or were just never equipped with them in the first place.
Here’s the idea. On a sunny day, set your aperture to f/16 and your shutter speed to the reciprocal of your film’s ISO.
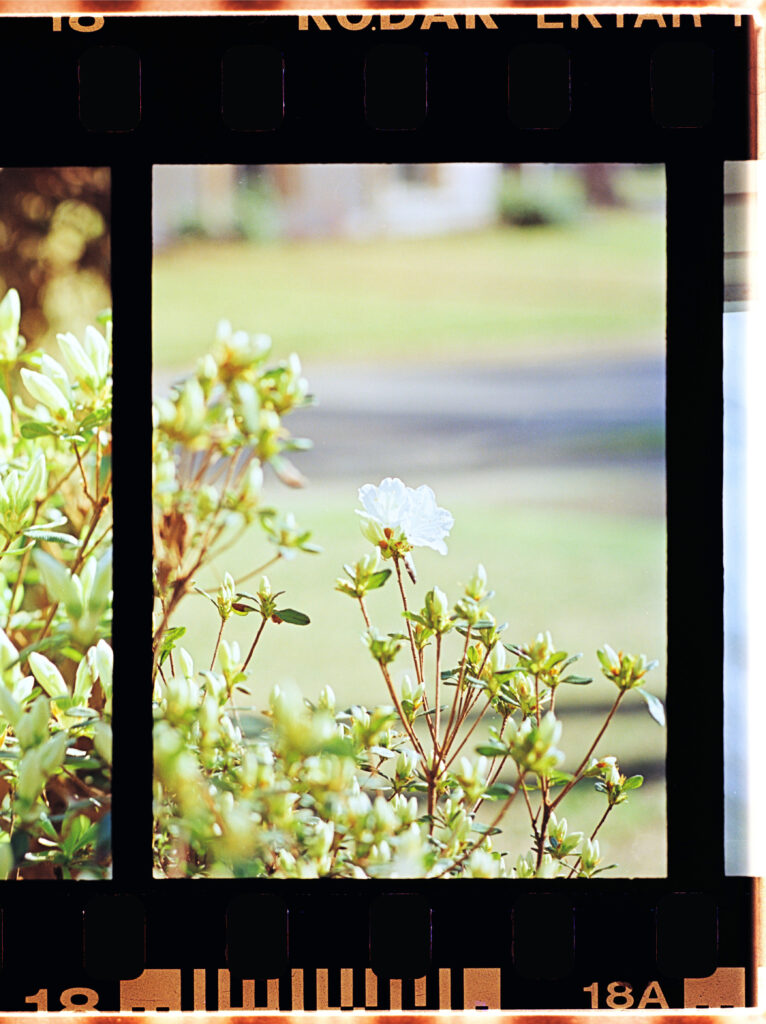
So if you were shooting Ektar 100 on a bright, sun-shining day, your settings would be f/16 and 1/100.
Most cameras don’t have a 1/100th setting though, so in this case 1/125th would suffice. The idea is to get as close as possible, usually erring on the side of overexposure with film.
That’s the core of the rule. The rest of this article is about building on that for different settings and conditions.
What if I Don’t Want to Shoot at f/16?
Ah, here’s where the cool part comes in!
First, I need you to understand how awesome exposure stops are. Each stop doubles the amount of light hitting your film. So for aperture, f/8 lets in twice as much light as f/16.
But here’s why that matters: stops are interchangeable. 200 ISO film is twice as sensitive as 100 ISO film. Slowing the shutter from 1/125th to 1/60th lets twice as much light fall on the film during an exposure.
I’m sure you can see where I’m going with this. If you want a wider aperture, you have to compensate with a faster shutter. Opening the aperture one stop can be balanced out by making the shutter one stop faster. Pretty basic stuff, but I had to make sure we were all on the same page.
So, continuing the scenario from earlier, say it’s still the same uncloudy day and your camera is set to f/16 and 1/60th. But you’re doing portraits so you want to open up the aperture as much as possible to get that sweet shallow depth of field.
Changing your settings is easy. You just have to remember that turning the shutter speed dial one stop must be balanced by turning the aperture ring one stop in the other direction.
In this case, you could turn your shutter speed dial four clicks, all the way from 1/60th to 1/1000.
To compensate, you can open the lens up four clicks, going from f/16 to f/4.
But What if it’s Not Perfectly Sunny?
Here’s where the other cool part comes in!
The sky is gray and white and cloudy as often as it is clear and sunny, but thankfully the sunny 16 rule has you covered. There’s a different base aperture for each different condition you might encounter:
| Condition | Shadows | Aperture Setting |
|---|---|---|
| Snow or Sand | Harsh | f/22 |
| Bright Sun | Hard-Edged | f/16 |
| Mildly Cloudy | Soft-Edged | f/11 |
| Cloudy | Barely Visible | f/8 |
| Overcast | None | f/5.6 |
| Sunset | Long | f/4 |
Looking at shadows is the easiest way to reliably tell the conditions apart.
But What if I’m Inside or it’s Dark Out?
Ah, well, that’s where the sunny 16 train stops, unfortunately. I’m not aware of any rule of thumb that works in these conditions, but most of the photography I do is outdoors and in sunshine anyway. Especially considering the low speed of most color film these days!
Closing Thoughts
Film is expensive, so it’s definitely worth checking your work! I keep a light meter app on my phone to double check settings if I need it.
I’m also not sure how well this rule would work for slide film. Color negative has a lot of exposure latitude, but slide film is pickier. In my experience, the sunny 16 rule has been quite accurate, but shoot at your own risk!